Cookier Glossary
Welcome to the sweet and intricate world of cookie decorating! Whether you're a seasoned baker or a newcomer eager to delve into the art of decorated sugar cookies, understanding the unique language of "cookiers" is essential. This glossary is your golden ticket to navigating the colorful, creative, and sometimes complex terminology used in the cookie decorating community. From royal icing consistencies to the most intricate piping techniques, we've compiled a comprehensive guide to help you master the lingo. So, grab your piping bags and ready your sprinkles; it's time to explore the essential terms every cookier should know, ensuring your cookie decorating journey is as delightful as the treats you create. If we missed something, leave a comment & we'll look into it!

Air Bubbles: Typically found in flood-consistency royal icing, these bubbles are the result of air being mixed into the icing during preparation. They can be popped with a scribe tool, but the best way to avoid air bubbles completely is to let your mixed icing sit covered on the counter for a while before scraping the surface with a spatula to pop them, and then transferring the icing into a piping bag. Read our post here for more information on air bubbles, including the helicopter method.
Airbrush / Airbrush System: Usually comprised of a compressor, gun, hose, and power cord, an airbrush system can be a fantastic tool to add layers and dimension to your baked goods and up your cookie game. The color in the color cup of the airbrush gun is turned into a fine mist when you pull the trigger, and this can be used to spray full color backgrounds or add stenciled designs. The Cookie Countess offers two airbrush systems to suit your needs.

Bag Topper: A bi-folded piece of printed cardstock that can be attached to the top of a cookie bag for a decorative or instructional touch.
Baking Powder: A simple leavening agent, and the eternal scapegoat of the baking world. Unless you are adding quadruple the amount of baking powder your recipe calls for, it is most likely not the reason your cookies spread.
Boo Boo Stick: Typically a 4-6” tool with a point on one end and a flat edge on the other, this is used to correct or scrape mistakes in royal icing (see also: Thingamagenie).
Tip: Keep your Boo Boo Stick handy—it's your official "I meant to do that" wand for when your royal icing decides to go rogue. Perfect for those moments when your cookie art starts looking more like abstract expressionism.
Brush Embroidery: This royal icing technique can be used to make flowers and other details in addition to giving the appearance of embroidery. Using a medium stiffness icing, pipe a 1”-2” line of icing onto your cookie. With a damp (not wet!) round brush, push the bristles about halfway into the line of icing and then pull backwards. This will create a lacy effect that can look very detailed. See our blog here for more details and instruction.
Butter Bleed: One of the banes of a cookier’s existence (see also: craters), butter bleed is essentially when the butter from your baked cookie leaches up through the flood layer to bloom on top and create oily spots on your royal icing. See our Butter Bleed blog for more details on how to combat this.

Color Bleed: This refers to dried cookies, when the color of one icing seeps into an adjacent color. Darker colors (that require more food coloring) tend to bleed into lighter colors, so common schools of thought are to a) allow your colors to sit and develop (instead of going overboard on adding color), and b) not allowing base icing to fully dry before adding details on top (the completely dry icing has a tendency to try to absorb moisture, and therefore color, from the fresh addition). Check out our blog on color bleed here for more information.
Continuous Line Art Cookies: Also occasionally called the Roundhouse technique (after the baker who popularized it), these cookies are decorated exactly as they sound: with one continuous line drawn into a particular shape. A small projector can be helpful with this technique.
Cookier: A creative soul and culinary artist dedicated to the craft of baking and decorating sugar cookies. Known for their precision with icing, an eye for design, and a heart full of passion, a cookier transforms simple dough and frosting into edible masterpieces.
Essence: More than just bakers, cookiers are part of a warm, supportive community that shares recipes, tips, and laughter. They find joy in the rolling pin's dance, the piping bag's squeeze, and the sparkle of sugar. Each cookie is a canvas, each design a story, making every bite a moment of shared happiness and sweet connection.
Coupler: A coupler is essentially something that connects two things—in this case, connecting piping tips to your piping bag for easy swapping and removal. The coupler is first placed inside the piping bag, and a piping tip is then placed over the end of the coupler, sandwiching the material of the piping bag between them. A collar is finally fitted over the piping tip, threading onto the grooves at the end of the coupler and holding the tip in place. To switch tips, simply remove the collar, swap the tip, and replace the collar once done.
Craters / Cratering: Typically found in small flooded areas of a cookie (think eyeballs or lettering), craters are small caved-in holes that appear in royal icing. There is no guaranteed trick to avoiding craters, unfortunately, but using a slightly stiffer icing (and/or putting a squiggle of a stiffer icing in that area first to then flood over) is one of the go-to options for avoiding them.
Crust / Crusting: This term refers to the hardening and drying of royal icing. As soon as icing starts to dry, it begins to develop a “crust” that will crack and deform if it is touched too soon. Some techniques require waiting until your base flood has crusted before moving to the next step; this simply means that you should wait until the icing won’t deform before adding the second layer, in order to have definition between the two layers.

Dehydrator: A device that can be used to speed up the drying of royal icing. Choose one with sliding removable shelves and a fan on the back or side to facilitate an easy in and out process and even drying.
Dipping / Dip Method: A method of flooding cookies without having to actively flood with a piping bag, dipping involves placing a thin-consistency icing in a bowl, gripping your cookie by the sides, and gently (but evenly!) dipping the cookie into the surface of the icing to fully coat the cookie in one go. See also marbling.
DIY / “Do It Yourself” Cookie Kits: Fun and easy for any age, these kits typically include several blank (baked) cookies in a variety of shapes, a few small piping bags of royal icing, and some sprinkles or nonpareils. Cookiers like these kits because the decorating is up to the customer—we just have to provide the materials!

“Edible”: A product that is certified as intended to be eaten or ingested.
Embossing Technique: Another way to add dimension to your cookies is the parchment paper technique. Originally started by simply crinkling a piece of parchment to add a funky crinkled effect to cookies instead of a flat flooded surface, embossing is a super easy way to create visually interesting cookie. Parchment squares now come in a variety of embossed designs that can be transferred to cookies by simply placing them on a freshly-flooded surface. See our post here for some tips and tricks.
Emulsions: This typically refers to a flavoring that is not alcohol-based. Common thought is that alcohol (and thus the flavor) bakes off in the oven, so using emulsions results in more flavor being left behind.
Extracts: These flavorings are alcohol-based, and they are more readily available in grocery stores.

Flood Icing: This icing is thinner in consistency due to a higher water content. It is typically used to cover the full surface of the cookie, although it can also be used in smaller sections.
Fondant: This is an edible icing used to decorate cakes, cookies, and other baked goods. It is typically rolled into thin sheets and then draped over cakes to create a perfect finish, but it can be cut into cookie shapes and applied on top of cookies as well. Silicone molds can be used to form fondant into unlimited numbers of shapes, and it can also be used to create edible decorative sculptures.
Fondust: This product works well for adding color to low-moisture products like fondant. Simply add a little bit and massage into the fondant until fully dispersed for a big color payoff.
“Franken-cookie”: This term refers to merging two cut pieces of cookie dough into one shape. Once baked, the cookie will hold this shape for decorating.

Gel Food Coloring: Unlike the liquid food coloring most usually found in grocery stores, gel colors are thick and don’t add additional liquid to your icing or baked goods. They are also super pigmented, so they typically require less to achieve dark or vivid colors. Cookie Countess gels can be found in a variety of colors and shades here.
Glaze Icing: Typically only containing powdered sugar, water, corn syrup, and flavoring, this icing is prepared without the addition of meringue powder. It can result in a softer bite (no crunchy, hard icing here!), but it can hold up less well than true royal icing for designs requiring stiffness and definition (think flower petals).

Heat Sealer: Also called an impulse sealer, this machine is used to seal cookie bags for freshness. A pulse of electricity is sent to a metal wire on the sealing platform, melting one side of the plastic bag to the other.
Helicopter Method: This silly name refers to the act of twirling a closed, tied piping bag full of royal icing in a circular motion (like a helicopter blade) to force air bubbles out of the icing. Make sure that your piping bag is completely sealed, unless you were intending to clean your ceiling anyways.

Impulse Sealer: See Heat Sealer.
Instant Icing: These royal icing mixes come plain or pre-colored, and they just require the addition of a little bit of water to turn into ready-to-go royal icing. Keep a bag of white on hand for making royal icing transfers, or for if you run out of your icing and just need a little more. Instant black and red mixes are perfect for stenciling and details, and they provide perfect colors with no additional food coloring required.


Lip and Tape Bags: These cookie bags are self-sealing, in that they have an adhesive strip at the end of the opening flap. Simply peel away the protective strip from the adhesive, fold the flap over, and the bag is sealed.
Luster Dust: This product does have some shimmer, but (unlike Sparkle Dust) it is meant to be brushed onto a cookie, either wet or dry, in order to add color and sparkle.

Marbling: When using the dip method, a marble effect can be achieved by drizzling colored icing over the surface of the base flood color in the dipping bowl. Give a quick zigzag through with a scribe to soften the lines and then continue to dip as normal. This will result in some spectacular and unique patterns that just couldn’t be achieved with standard flooding.
Meringue Powder: A staple in traditional royal icing, meringue powder is essentially dried pasteurized egg whites that have been turned into a fine powder (or superfine, in the case of Genie’s Dream!). This product helps to whip your icing into a stiff consistency that is great for any design requiring stiffness and definition (think flower petals or basketweave design).
Mesh Mats: Unlike Silpat or other silicone baking mats, these mats have an open-weave design, allowing for air to flow under and around your cookies in the oven. The perforations leave a professional design on the bottoms of your cookies and can help with cookie spread. For a full comparison of mesh mats to Silpat, etc, read our blog here!

“Non-Toxic”: A product that is not intended to be eaten, but which won’t harm you if you ingested it in a small quantity (think a child eating a Crayola crayon—it’s not ideal, but they’ll most likely be fine). See our coordinating post about non-toxic versus edible here.


Petal Dust: This product has a matte finish and is meant to be brushed onto royal icing, fondant, gum paste, etc to provide shading and dimension.
Piping Tips / Piping Nozzles: These small metal tips are typically used in conjunction with a coupler and piping bags for flooding and detailing cookies, cakes, etc. Round tips are good for flooding and line work, but other tip options include leaf, basketweave, star, drop flower, petal, and more.
Procrastibaking: This term has two completely different definitions, depending on who you ask.
- The act of putting off other tasks by baking and decorating; or
- The act of putting off the baking and decorating you know you have to do by doing literally anything else.
Projector: A small projector can be used to display images, writing, and more directly onto the surface of your cookie, allowing for easy tracing, piping, and spacing. Pair with a tripod or other mount for most effective use.
PYO / Paint Your Own Cookies: These cookies are flooded white and then stenciled with a coloring-book-style design that can then be painted in with an edible paint. Pre-made PYO palettes can be found here for purchase, but some cookiers prefer to attach colorful candies (the coatings can be rubbed off with a wet paintbrush and then applied to the cookie design), or make their own palette with gel food coloring on a separate cookie.


Roundhouse Technique: See Continuous Line Art Cookies.
Royal Icing: The standard icing used with decorated sugar cookies, this typically consists of powdered sugar, meringue powder, water, flavoring, and corn syrup. Royal icing usually starts off as a very thick, stiff icing that is good for stenciling and assembling gingerbread houses, but it can be thinned for flooding and piping with the careful addition of water.
Royal Icing Transfer: This refers to a small design that has been piped onto a piece of parchment paper and allowed to fully dry. Once completely dry, the design can be removed carefully from the parchment and glued onto a cookie with a dab of royal icing. These transfers are a great way to get a head start on a project, as they can be kept in an airtight container almost indefinitely. It also allows you to make mistakes on parchment, not your limited supply of cookies.

Scraper: Different than a standard spatula, a scraper usually has a long, flat, flexible edge that can be used to scrape stencils clean of royal icing.
Scribe (Tool): A scribe or scribe tool is a pointed instrument used to pop air bubbles in icing, help spread icing to the edges of the cookie, scrape away mistakes, and any number of other tasks when decorating cookies. Scribes typically come in 4” and 6” options, but a toothpick can also be used in a pinch!
Silkscreen: Typically used in airbrushing, this refers to a product that is a porous membrane that lays on top of your stencil to hold it flat and flush to your cookie, but through which airbrush color can pass easily, resulting in crisp, clean lines. Fabric silkscreens can also be used with royal icing, although standard stenciling technique needs to be adjusted in order to do so. Silkscreen options can be found here.
Silpat / Silicone Mats: These mats create a solid nonstick surface on which to bake your cookies. They don’t conduct heat, so they don’t create hot spots that can cause your cookies to burn. Unlike the mesh mats, the solid silicone surface can cause air pockets to develop on the bottom surface of your cookies. For a full comparison of types of baking mats, refer to our blog here.
Sparkle Dust: Typically spritzed onto the cookie (or even just a portion of the cookie) using a dust pump to give a little sparkle.
Spread: When you hear cookiers talk about cookie spread, they are usually lamenting that when they put their cutout dough in the oven to bake, it comes out of the oven wider and misshapen. There can be several reasons for this (too-soft butter, dough being placed on hot pans, not enough flour, etc), but a simple hack is to use your metal cutter to re-cut the cookies as soon as you take them out of the oven—don’t try this with plastic cutters unless you love the taste of melted plastic!
Stencil Genie: This is a 2-piece plastic frame that holds a stencil in place and snaps together with magnets on the four corners. Easy to use and easy to clean, this is a must-have item for cookiers who use stencils.

Thingamagenie: Another great Genie product, these come in a set of two and can be used as both a scribe and a boo boo stick to correct mistakes. The flat edge can also be used to hold areas of a stencil in place when airbrushing.
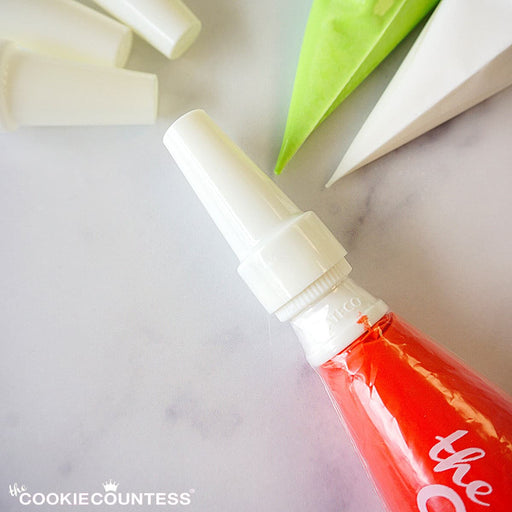
Tip Clips: Use these tiny clips to clamp the ends of opened tipless bags and prevent leaking royal icing.
Tipless Piping Bags / Tipless Bags: These disposable piping bags have one seam and a closed point that can be cut to any size opening you need. “Tipless” refers to the fact that you do not have to use a coupler and piping tip to use these bags. For more information, refer to our blog here.
Tissue Paper Method: Used by cookiers to transfer an image to a flooded cookie that can then be filled in with royal icing. Use an edible ink marker to create or trace a design onto tissue paper. Place that tissue paper design onto the flooded cookie, and trace the lines again with edible ink marker. Lift the tissue paper away, and the design should be left behind.
Turntable: A smaller version of a Lazy Susan, a turntable can be used to easily spin cookies while they are being airbrushed or even flooded. Choose one with a removable top platform for easy cleaning.

Underspray: Underspray, interchangeable with overspray, is when you are using a stencil with an airbrush and color manages to get under the stencil, thus creating a fuzziness to the edges of the stencil. This can be avoided by aiming directly down at the stencil/cookie to prevent air from lifting up the stencil when using. A Magic Screen is a great tool to help prevent underspray.


Wet-on-Wet: This refers to the method wherein you flood a base layer of royal icing and then immediately add detailing in a different color of the same consistency of icing. The two will retain their definition, but they will merge to be one level layer. Take this technique up a notch by using the tip of a scribe to achieve hearts, rosettes, chevrons, and more.


10-Second Icing: You can substitute any number at the front of this term, and the meaning is essentially the same. This refers to the number of seconds it takes your icing to “heal” itself when you drag a knife through it in the bowl, and it is a method of measuring the consistency of icing. A 10-second icing is better for flooding (because it will settle and even out on the cookie relatively quickly and easily), whereas a 20-second icing is better for outlining and details (since it will hold its shape better and doesn’t automatically want to flatten out). Read our Icing Consistencies blog for a full breakdown.
Recommended for You:
-
 Original price $ 1.65 - Original price $ 1.65Original price$ 1.65$ 1.65 - $ 1.65Current price $ 1.65
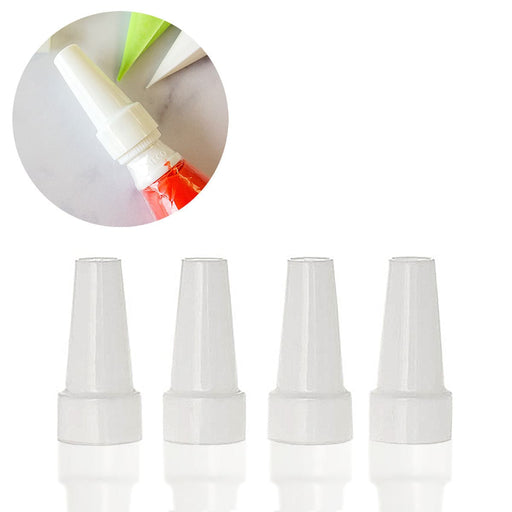
Piping Bag Tip Tube Covers - Set of 4
Atecoin stockDon't let your icing bags leak or dry out! Use these covers on bags with Ateco couplers and standard tips on them. Reuse them again and again. Se...
View full detailsOriginal price $ 1.65 - Original price $ 1.65Original price$ 1.65$ 1.65 - $ 1.65Current price $ 1.65 -
 Original price $ 1.85 - Original price $ 1.85Original price$ 1.85$ 1.85 - $ 1.85Current price $ 1.85
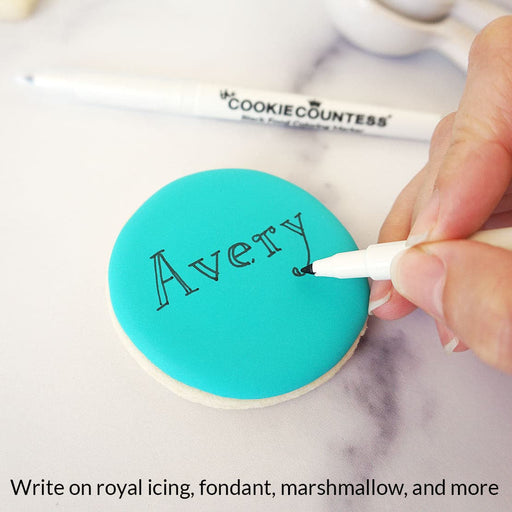
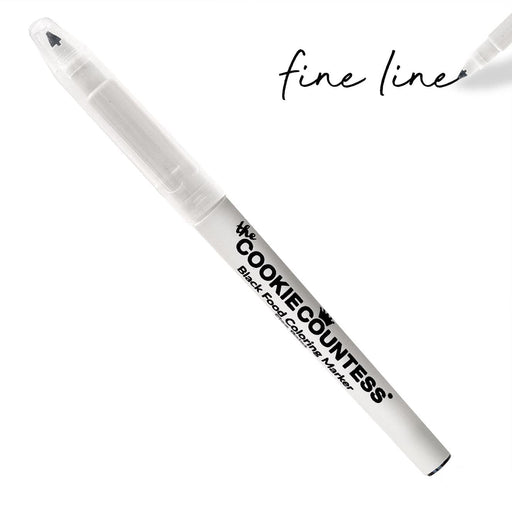
Black Fine Tip Food Marker
The Cookie Countessin stockA black edible-ink pen is essential for your decorating kit. Use these high quality markers for: Marking up baked cookies for planning designs Wr...
View full detailsOriginal price $ 1.85 - Original price $ 1.85Original price$ 1.85$ 1.85 - $ 1.85Current price $ 1.85 -
Original price $ 23.99Original price $ 23.99 - Original price $ 23.99Original price $ 23.99Current price $ 14.99$ 14.99 - $ 14.99Current price $ 14.99
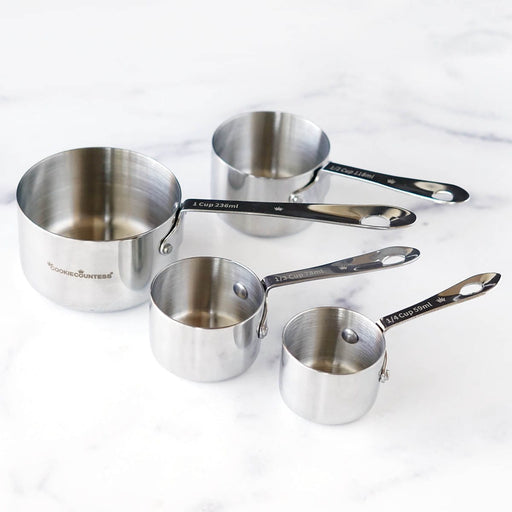
Stainless Steel Measuring Cups 4 Piece Set
The Cookie Countessin stockIncredibly high quality, with no plastic parts. Whether baking or cooking you'll reach for these essentials again and again! THESE ARE THE LAST SET...
View full detailsOriginal price $ 23.99Original price $ 23.99 - Original price $ 23.99Original price $ 23.99Current price $ 14.99$ 14.99 - $ 14.99Current price $ 14.99Save 38% -
 Original price $ 6.99 - Original price $ 6.99Original price$ 6.99$ 6.99 - $ 6.99Current price $ 6.99
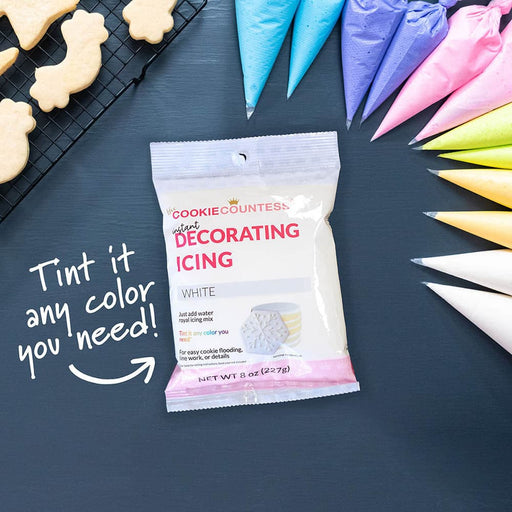
Instant Royal Icing Mix - White Base
The Cookie Countessin stockJust add water for white, stiff icing! Perfect for stenciling, dots and eyes, writing, or thin it for flooding. You can tint it any color you need...
View full detailsOriginal price $ 6.99 - Original price $ 6.99Original price$ 6.99$ 6.99 - $ 6.99Current price $ 6.99 -
Original price $ 5.50 - Original price $ 5.50Original price$ 5.50$ 5.50 - $ 5.50Current price $ 5.50
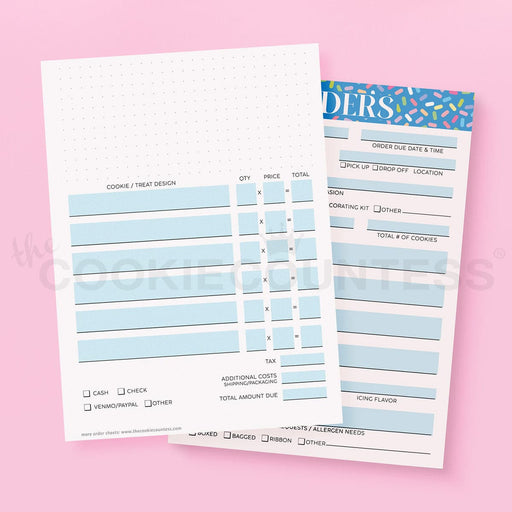
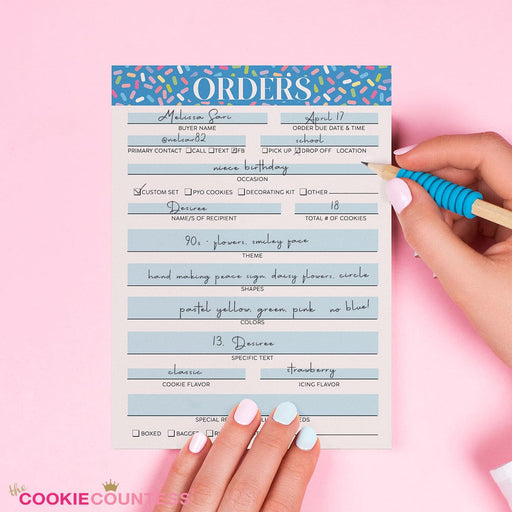
Cookie Order Form 5 x 7, 50 sheets
The Cookie CountessOut of StockThese cute sheets will help you plan your cookie orders. The back has an area for sketching and pricing planning. Size: 5" x 7" 50 Sheet Pad Tear ...
View full detailsOriginal price $ 5.50 - Original price $ 5.50Original price$ 5.50$ 5.50 - $ 5.50Current price $ 5.50Sold out


-
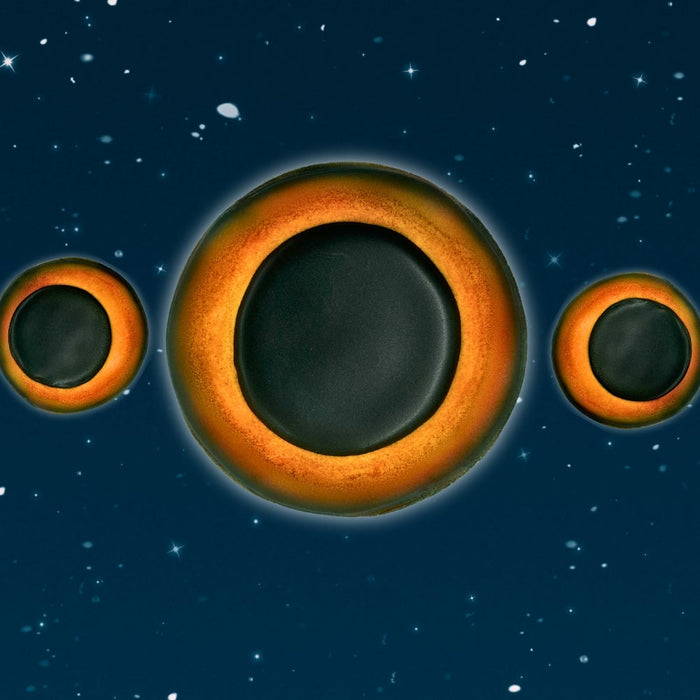
Solar Eclipse Cookies
Read nowCookiers will find a way to cookie anything. Yes. Cookiers will find a way to cookie anything. Am I being dramatic? A tad. But c'mon! Is there anything more dramatic than a total solar eclipse? I knew the eclipse was...
-
Blog Index
Read nowAll Airbrush Related Articles 1. Which Airbrush System is right for you? 2. Live Replay: Unboxing & getting started with your airbrush with Hillary & Sarah. 3. How to make watercolor florals with airbrush color 4. Live Replay: Airbrushing 101...
-
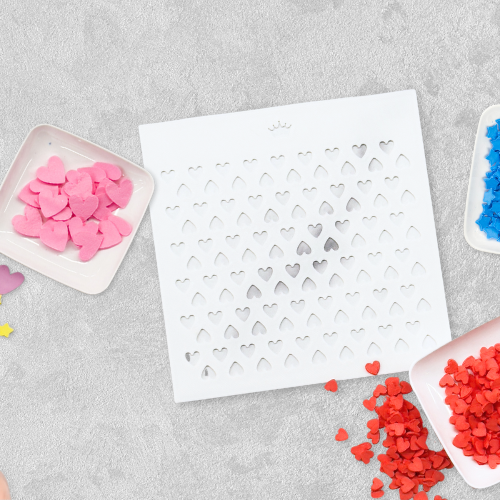
How to Use Sprinkle Stencils
Read nowI generally don't use sprinkles on my decorated cookies all that frequently, because I always struggle to find the shapes I need in the colors I want. I also don't love the idea of using sprinkles that have already been...


Comments
Leave a comment