
Royal Icing Consistencies: What’s the Difference?
Icing consistency is something that every cookier will struggle with now and again. Even the most experienced among us will occasionally have to dump a piping bag of icing back into a bowl and start again (if they claim otherwise, they’re either fibbing or cookie-decorating robots). You’ll often hear cookiers talk about icing in terms of “seconds.” What that means is how long it takes for your icing to settle back into itself seamlessly after dragging the edge of a knife through it. But what consistency is the right one? Well, it really depends on what you are trying to do. Here are four basic categories of icing consistencies and what you’d use them for.
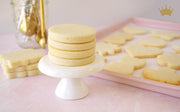
“Original” consistency

You can give this icing all the time in the world, but if you drag a knife through it, it’s going to stay exactly as it is.
When we say “original,” we simply mean the icing consistency that you typically get from a fresh batch of royal icing, straight out of the mixer. Most recipes get you to a nice thick icing that you can then thin down by adding water, but this is usually your starting point. This icing is perfect when using piping tips to make flower petals, ruffles, drop flowers, star or leaf designs, etc—basically anything you need to keep its shape. You can also use this consistency to stencil cookies and assemble gingerbread houses!

Outline/detail consistency
20-25 seconds

Some cookiers like to outline their cookies with a thick-ish icing that they can use as a dam to then contain the flood icing that will come afterwards. This is usually a toothpaste-consistency icing that is also good for small details (think eyeballs and smiles). This icing has more water than the original consistency, so it is more elastic when piped, but it doesn’t spread and settle the way thinner flood icings do. The stiffness combined with elasticity means that this is often a good choice for writing on cookies (depending on the font choice, of course), because that small amount of extra water means that the writing will hold its shape while also not being so brittle that it breaks off.

Medium/hybrid consistency
15-18 seconds

Probably the most commonly-used consistency, this is stiff enough for you to be able to outline your cookies and fluid enough to be able to then flood with that same bag. Because it still has a little body to it, this consistency helps your flood retain that lovely puffiness we all strive for in our dried icing—no flat, limp details here! For that reason, this icing is also great for writing on cookies or filling in lettering that you already outlined with that slightly stiffer detail-consistency icing. Small areas are more prone to cratering (the horror!), so this thickness can keep your lettering and small areas nice and puffy. This is a great versatile consistency, and it’s probably the one we use the most.

Flood consistency
10-15 seconds

This is the thinnest icing consistency due to its higher water content, so it works best when used in conjunction with an outline made with a stiffer icing; this will keep the thin flood icing from simply spilling over the sides of your cookies. This consistency works great for wet-on-wet designs, as well as for dipping cookies (quick tip: when marble-dipping cookies using multiple icing colors, make sure that all the colors are the same consistency so that everything settles together and smooths out without leaving behind lumps and valleys on top of your finished cookie).

As you can see, there is a little variation within each category, so the best thing you can do is experiment and see what works best for you. To move from a thicker icing to a thinner one, you simply add water a little bit at a time and mix; use a spray bottle or dropper so that you can carefully control how much water you are adding—you can always add more, but you can’t take it out once it’s in there, so it’s best to add water with a light hand and then assess your consistency. If you do accidentally add too much, it’s not the end of the world: simply add more powdered sugar to regain some stiffness in your icing. And if you start decorating and realize that the icing in your bag is going to put you on the struggle bus for your entire project, do yourself a favor and dump that icing back into a bowl and adjust as needed!
Recommended for You:
Original price
$ 1.65
-
Original price
$ 1.65
Original price
$ 1.65
$ 1.65
-
$ 1.65
Current price
$ 1.65
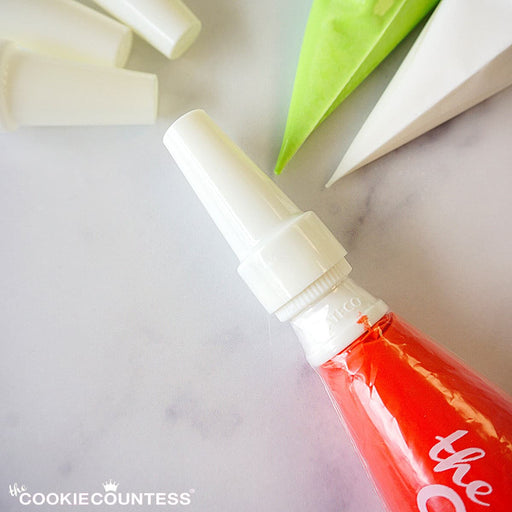
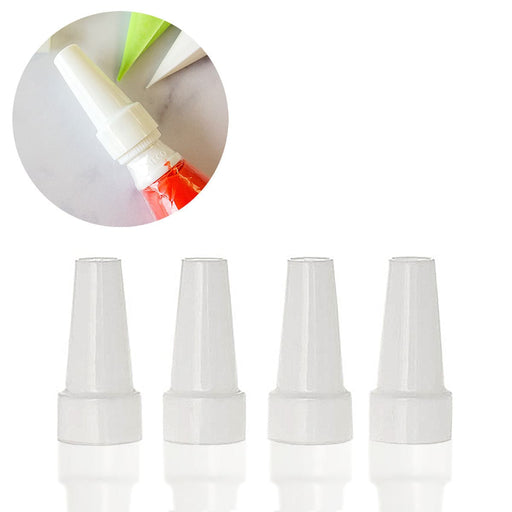
Piping Bag Tip Tube Covers - Set of 4
Ateco
in stock
Don't let your icing bags leak or dry out! Use these covers on bags with Ateco couplers and standard tips on them. Reuse them again and again. Se...
View full details
Original price
$ 1.65
-
Original price
$ 1.65
Original price
$ 1.65
$ 1.65
-
$ 1.65
Current price
$ 1.65
Original price
$ 1.85
-
Original price
$ 1.85
Original price
$ 1.85
$ 1.85
-
$ 1.85
Current price
$ 1.85
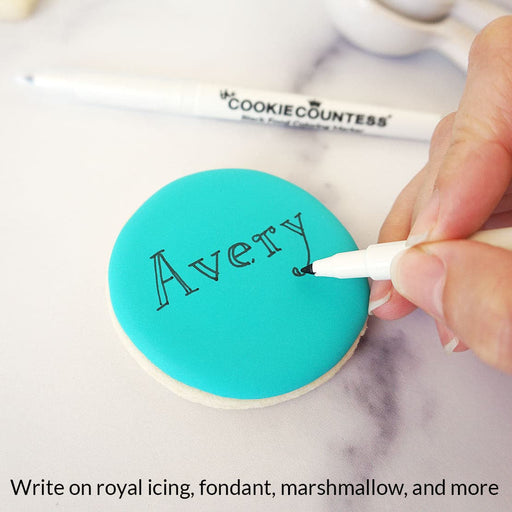
Black Fine Tip Food Marker
The Cookie Countess
in stock
A black edible-ink pen is essential for your decorating kit. Use these high quality markers for: Marking up baked cookies for planning designs Wr...
View full details
Original price
$ 1.85
-
Original price
$ 1.85
Original price
$ 1.85
$ 1.85
-
$ 1.85
Current price
$ 1.85

Original price
$ 23.99
Original price
$ 23.99
-
Original price
$ 23.99
Original price
$ 23.99
Current price
$ 14.99
$ 14.99
-
$ 14.99
Current price
$ 14.99
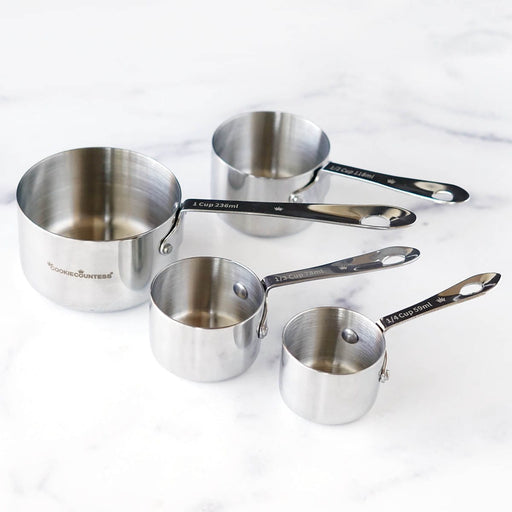
Stainless Steel Measuring Cups 4 Piece Set
The Cookie Countess
in stock
Incredibly high quality, with no plastic parts. Whether baking or cooking you'll reach for these essentials again and again! THESE ARE THE LAST SET...
View full details
Original price
$ 23.99
Original price
$ 23.99
-
Original price
$ 23.99
Original price
$ 23.99
Current price
$ 14.99
$ 14.99
-
$ 14.99
Current price
$ 14.99
Save 38%

Original price
$ 6.99
-
Original price
$ 6.99
Original price
$ 6.99
$ 6.99
-
$ 6.99
Current price
$ 6.99
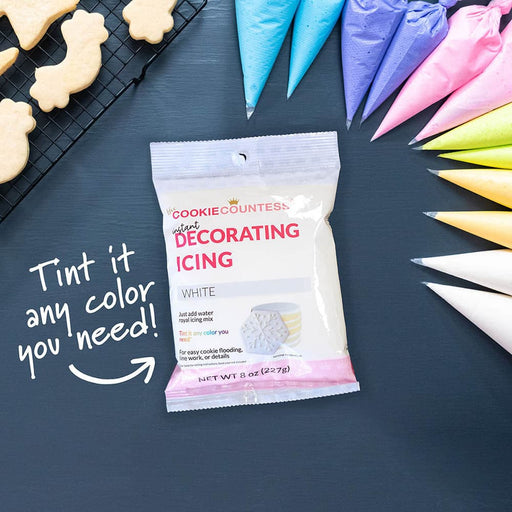
Instant Royal Icing Mix - White Base
The Cookie Countess
in stock
Just add water for white, stiff icing! Perfect for stenciling, dots and eyes, writing, or thin it for flooding. You can tint it any color you need...
View full details
Original price
$ 6.99
-
Original price
$ 6.99
Original price
$ 6.99
$ 6.99
-
$ 6.99
Current price
$ 6.99
Original price
$ 5.50
-
Original price
$ 5.50
Original price
$ 5.50
$ 5.50
-
$ 5.50
Current price
$ 5.50
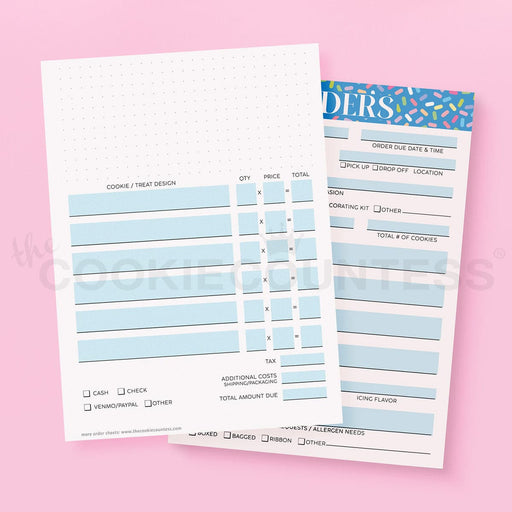
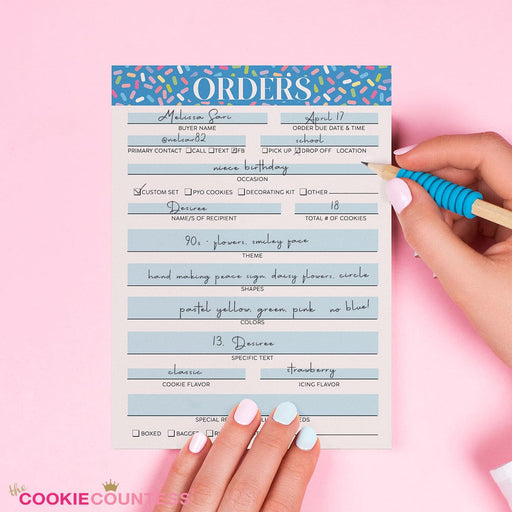
Cookie Order Form 5 x 7, 50 sheets
The Cookie Countess
in stock
These cute sheets will help you plan your cookie orders. The back has an area for sketching and pricing planning. Size: 5" x 7" 50 Sheet Pad Doub...
View full details
Original price
$ 5.50
-
Original price
$ 5.50
Original price
$ 5.50
$ 5.50
-
$ 5.50
Current price
$ 5.50
-
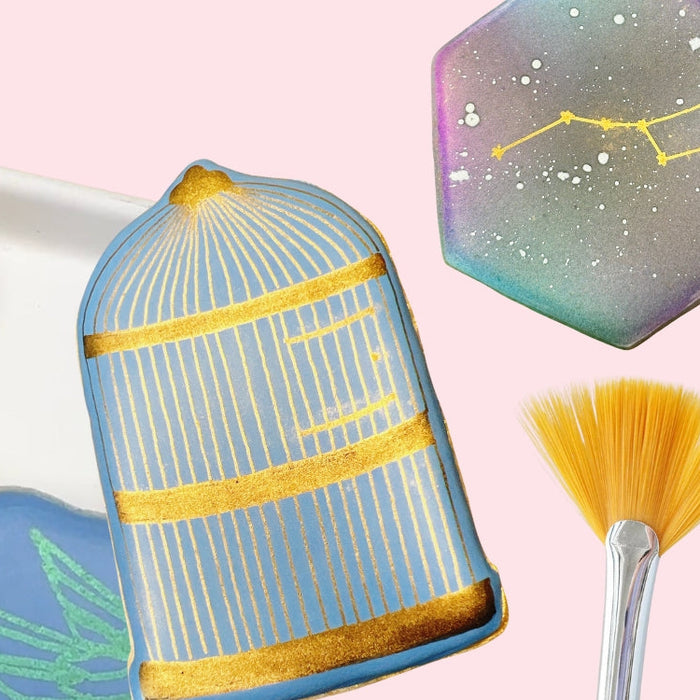
Make magic with edible markers and hybrid luster dust!
Read nowScroll down for Q&A section! When I made a quick video earlier this week demonstrating how you can add some real wow factor to your edible marker by dusting it with luster dust, I didn’t realize how many questions were...
-

Solar Eclipse Cookies
Read nowCookiers will find a way to cookie anything. Yes. Cookiers will find a way to cookie anything. Am I being dramatic? A tad. But c'mon! Is there anything more dramatic than a total solar eclipse? I knew the eclipse was...
-
Blog Index
Read nowAll Airbrush Related Articles 1. Which Airbrush System is right for you? 2. Live Replay: Unboxing & getting started with your airbrush with Hillary & Sarah. 3. How to make watercolor florals with airbrush color 4. Live Replay: Airbrushing 101...


Comments
Leave a comment